Installation of MisterI
Windows
The only available package today for Windows is a 'zip' file. A Windows auto-install executable package may be provided at some point.
To install MisterI for Windows, follow the instructions (or find any way to unzip the package):
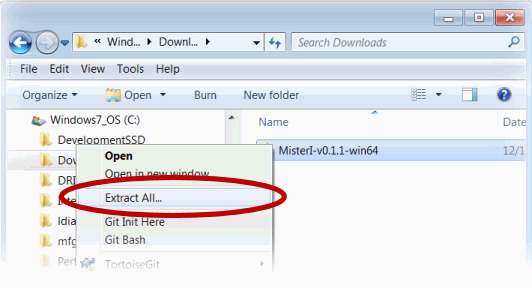
1) Select the downloaded zip file and right click with the mouse. You can use the 'Extract All' menu item:
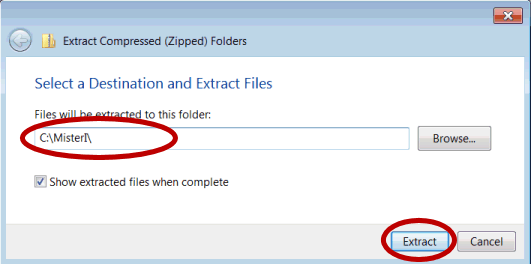
2)Provide the destination folder and press 'Extract'
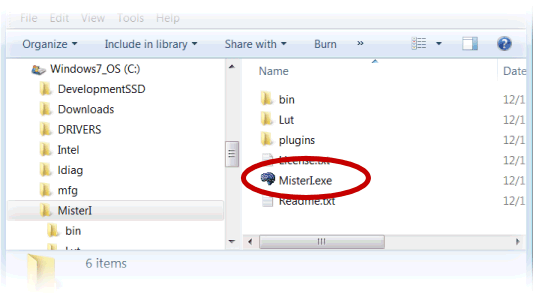
3) MisterI is installed! You can double click on 'MisterI.exe' to run it.
If at startup the system complains that the library msvcp140.dll (or vcruntime140.dll) is missing, you need to run the Microsoft Visual C++ 2015 X64 Redistributable Package.
It is located in the ./redist/ folder of MisterI. You can also download it there:
Microsoft Visual C++ 2015 X64 Redistributable Package (64bits)
MacOS X
A 'dmg' bundle is provided for MacOS X. Double click on it to mount it:
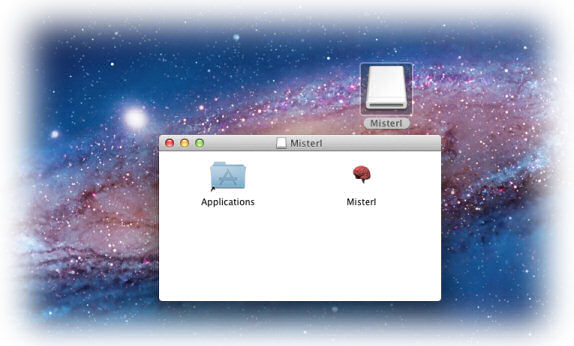
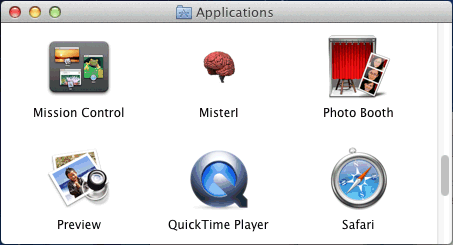
Select the 'MisterI' icon and move it over the 'Applications' folder in the same Windows. MisterI will be copied on the machine and installed along with other applications:
You can then unmount the 'MisterI' device.
Linux
For Linux, a 'tar.gz' is provided. Note that the package contains a parent folder named 'MisterI'. To extract and install MisterI (for example in an existing folder 'Software'), you can use a command such as:
$ tar -xzvf MisterI-v0.3.0-centos6_x64.tar.gz
This will create the folder 'MisterI' inside 'Software' and extract MisterI.
To run MisterI, you can use:
$ ./MisterI
If you want to run MisterI from any folder, you can add the following lines in your .bashrc (for bash):
export PATH=${PATH}:${MISTERI_DIR}
If you have any dependency errors, you might try to run dependencies-centos.sh (CentOS/Redhat/Fedora) or dependencies-ubuntu.sh (Debian/Ubuntu) from the bin/ directory of MisterI (you need root access for that. You can use 'su' or 'sudo').